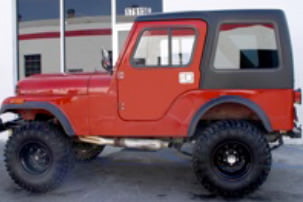
Hardtop Type: 1-Piece Removable Hardtop with Door Inserts
Truck Model: Jeep CJ5 Early Model (1954-1971) | Jeep CJ5 Intermediate Model (1972-1975) | Jeep CJ6 (1955-1975)
Hardtop Depot INSTALLATION INSTRUCTIONS
General Safety Information:
Parts Provided:
- 4 ea. 5/16•18 x1 1/2” Hex Bolts (large)
- 12 ea. 5/16•18 Weld Nuts (large)
- 4 ea. 3/8” Flat Washers
- 2 ea. 1/4 • 20 x 1 1/4” Hex Bolts (small)
- 2 ea. M6 x 25 Flat Black Washer (cut)
- 2 ea. 1/4•20 x 7/16” Weld Nuts (small)
- 2 ea. Wood Spacers
- 2 ea. Closed Catches
- 6 ea. 8 x 3/4 Mod Truss Sheet Metal Screws
- 2 ea. Lower Door Hinge Set Two each in a package
- 2 ea. Windshield End Plates
- 2 ea. Door Keys
Tools/Materials Required:
- #2 Phillips screwdriver
- 11 mm wrench
- M6 Allen wrench
- 1 tube of silicone sealant
Instructions:
Follow the instructions and perform the steps in the sequence given. Shortcuts to the directions may result in an unsatisfactory installation.
A. PRE-INSTALLATION:
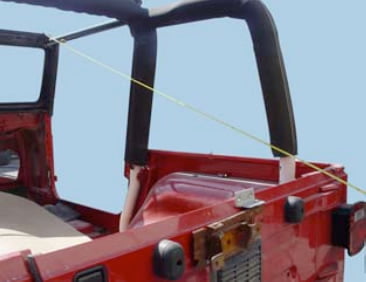
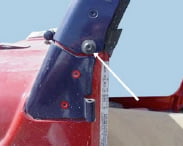
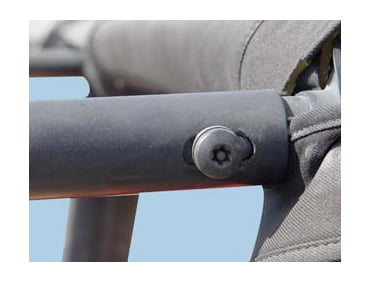
5. Using a T50 tamper resistant Torx wrench or vise-grips, loosen this bolt. On the CJ 7 & YJ’s it’s on the top of the roll bar. On the TJ & Unlimited it’s on the side of the roll bar. This will be a 2 person job. One checks the measurement, the other person tightens the bolt. Remember 75 1/8” on both sides. (Unlimited 89 7/16”). Once this is accomplished, tighten up the bolt you loosened in step 4. Now you can put your top on. If the windshield is properly adjusted, the space between the windshield and the door should be the same on both sides.
B. INSTALLATION
8. Using 2 people, mount the door in the opening. Make sure you have an even space around the door. Use the spacers as a guide. Now slide the lower hinge onto the door, one at a time and mark the center of the 2 holes. Remove the door and drill the four 7/16” holes in the body. Remove the masking tape from around the holes and install the hinges using the bolts from the package and the weld nuts. Now install the doors.
C. HINGE ALIGNMENT EXAMPLES
Need more help?
Installing your hardtop sport truck hardtop is a simple process, but we are always ready to lend expert advice.

